
Last Updated on April 21, 2026 by Sara Belle
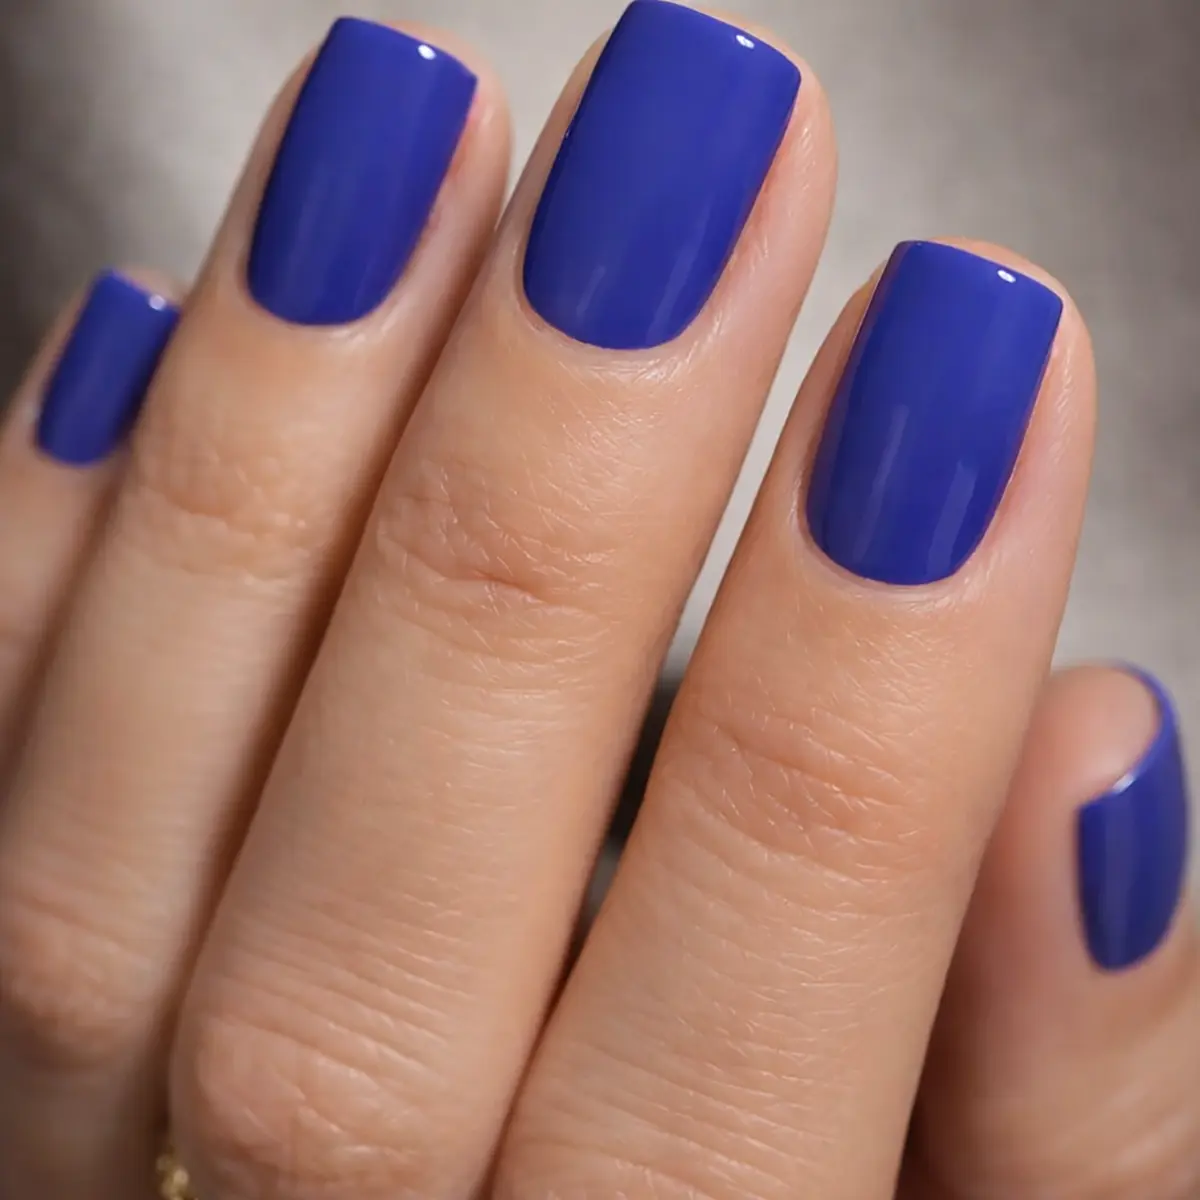
I used to be the person who’d paint her nails on Sunday night and spend Monday picking off the polish before the chips even had a chance to spread. It was embarrassing, honestly — I’d see someone at the office with a pristine manicure from two weeks ago and wonder what on earth they were doing differently. Turns out: quite a lot. Long-lasting manicures aren’t really about willpower or special genes. They’re about a sequence of small steps that, individually, seem almost too basic to matter.
In this article I’m walking through exactly what that sequence looks like — from prep to maintenance — so you can stop repainting every four days and actually enjoy your nails for a full week or more.
1. Nail Preparation
This is the step most people rush, and it’s the one that determines everything else. Start by removing any old polish completely, then shape your nails to the style you want — a clean edge with no jagged corners gives the polish fewer places to start peeling. After shaping, use a cuticle pusher to gently push back your cuticles. The keyword there is gently; you’re tidying, not excavating.
One thing I started doing that made a noticeable difference: lightly buffing the nail surface with a fine-grit buffer before anything else. It removes the natural shine on the nail plate and gives the base coat something real to hold onto.
2. Clean and Dry
Not the most glamorous step, but probably the most overlooked. Wash your hands, then — and this is the part people skip — swipe each nail with a non-acetone remover right before painting. Even if you just washed your hands, there’s residual oil on the nail plate that will silently ruin your manicure. Dry everything completely. Any moisture trapped under the polish will work against adhesion from the start.
3. Base Coat Magic
Honestly, if I had to pick just one thing that transformed my long-lasting manicures, it would be committing to a proper base coat. For years I skipped it because it added time. That was a mistake. A good base coat does three things at once: it gives the polish something to grip, it protects the nail from staining (especially relevant with dark or neon colors), and it helps smooth out any surface ridges so the color goes on more evenly.
Apply a thin, even layer and let it dry fully before touching the colored polish. Not mostly dry. Fully dry. If you’re about to do your full DIY manicure at home, factor in the extra five minutes — it’s the most valuable five minutes in the whole process.
4. Layer Wisely
Thick coats are a trap. They feel efficient in the moment and then they bubble, smudge, or peel within 48 hours. Two to three thin coats, with real drying time between each one, will always outlast a single thick coat. Always.
Also: don’t forget to cap the free edge. Running the brush across the very tip of the nail with each coat prevents the polish from peeling back from the edge — which is usually where chips start.
5. Finalize Your Manicure by Sealing It with a Top Coat
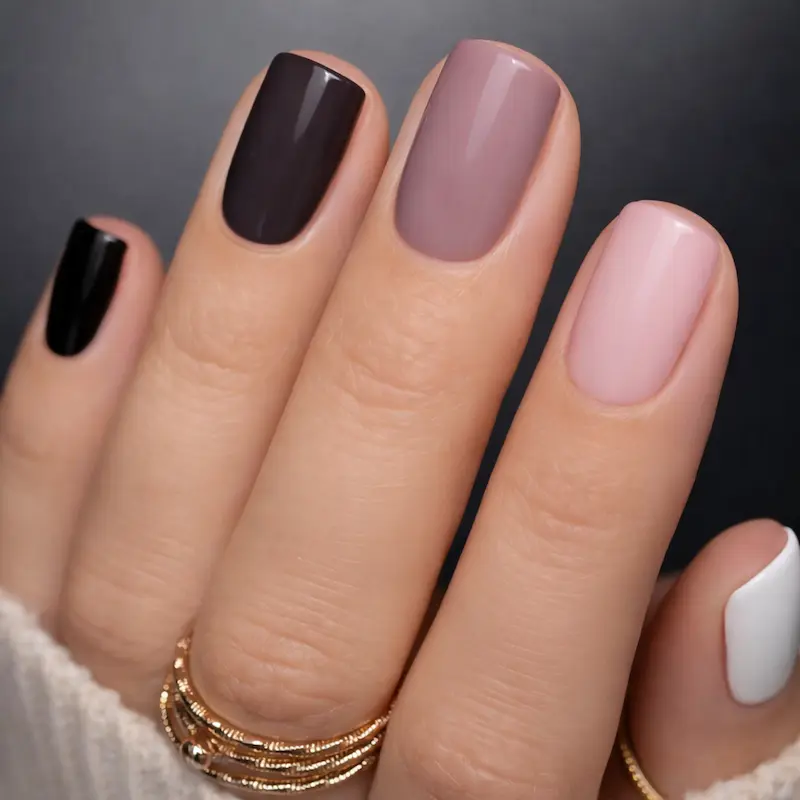
A top coat is not optional. It’s the reason your manicure survives. Apply a thin layer over the colored polish and make sure you extend it just slightly past the nail tip — wrapping the edge, essentially — to seal that vulnerable border where peeling tends to start. A good top coat adds the gloss, yes, but more importantly it creates a physical barrier against daily wear.
Some people swear by gel-effect top coats for extra thickness and durability. I’ve tried a few and they do make a difference, especially if you’re someone whose hands are constantly busy at a desk or in the kitchen.
6. Mind the Cuticles
Dry cuticles aren’t just a visual problem — they actively pull at the edges of your polish as the skin contracts and stretches. Regular cuticle oil (applied after your top coat is fully cured, not before) keeps the surrounding skin flexible and the manicure edges looking clean. It takes ten seconds before bed. And as a bonus, it does wonders for overall nail health over time.
7. Protective Measures
This one I always resisted because it felt over the top. Gloves for washing dishes? Really? But the chemistry is straightforward: prolonged water exposure swells the nail plate, and when it contracts as it dries, the polish weakens. Harsh dish soap compounds this. Wearing rubber gloves isn’t fussy — it’s just protecting something you spent time on.
Same logic applies to cleaning products, gardening, and anything involving acetone-adjacent chemicals. It sounds like a lot of exceptions, but in practice you just keep a pair of gloves under the sink and it becomes automatic.
8. Maintenance
Every two to three days, swipe a fresh thin layer of top coat over everything. It takes two minutes and it genuinely extends the life of the manicure by several more days. Keep a small bottle of your base color somewhere accessible for any minor chips — catching them early, before the chip spreads, is so much easier than redoing a whole nail.
And when it’s time to take everything off — especially if you’ve been wearing gel — removing it properly at home is just as important as the application. Peeling or scraping off gel damages the nail surface and makes the next manicure less likely to last.
Quick Pro Tips for Long-Lasting Manicures
- Always wipe with non-acetone remover right before painting — even after washing your hands. Oil on the nail plate is invisible and adhesion-wrecking.
- Let each layer dry properly. If you can dent it with a fingernail, it’s not ready for the next coat.
- Cap the free edge with every layer — base coat, color, and top coat. It sounds tedious but it’s the single biggest mechanical change you can make.
- Avoid hot water for at least an hour after painting. Hot showers right after a manicure are one of the most common culprits for early bubbling and smudging.
- Keep your top coat in a cool, dark place. Thick, goopy top coat doesn’t seal well — thin it with a drop or two of nail polish thinner if needed.
- Don’t pick at a chip. Touch it up or leave it. Picking always makes it bigger.
FAQ
How long should long-lasting manicures actually last?
With proper prep and a good top coat, a regular polish manicure should hold for 7–10 days without major chipping. Gel can stretch to 2–3 weeks. The single biggest factor is nail preparation — oil-free, clean nails before you start.
Why does my nail polish peel off after one day?
Usually it comes down to skipping the base coat, applying thick coats that don’t dry fully, or having even a trace of oil on the nail plate before painting. Wash your hands, then swipe each nail with a non-acetone remover right before you start — it makes a real difference.
Is a base coat really necessary for a long-lasting manicure?
Yes, genuinely. A base coat gives the colored polish something to grip, prevents staining (especially with dark shades), and evens out any ridges. Skipping it is probably the most common reason manicures don’t last.
How often should I reapply top coat to make the manicure last longer?
Every 2–3 days is a good rhythm. A quick thin layer over the existing top coat refreshes the shine and seals any micro-cracks before they turn into actual chips.
Does cuticle oil ruin nail polish?
Only if you apply it before painting. Once your top coat is fully cured (ideally wait a couple of hours), cuticle oil won’t harm the polish at all — it actually helps the surrounding skin stay supple, which keeps the edges of the manicure looking clean for longer.
What Actually Works — A Straight Answer
If you take nothing else from this: do the prep properly and never skip your top coat. Those two habits alone will add days to any long-lasting manicure. Everything else — cuticle oil, gloves, touch-up coats — layers on top of that foundation. You don’t have to do all of it perfectly from day one. Start with cleaning thoroughly before you paint and sealing the edges with top coat, and you’ll notice the difference in the first week.
My personal go-to for longevity is still a strengthening base coat, two thin coats of color, and a gel-effect top coat reapplied every three days. Simple, and it holds up through everything. What about you — do you have a step in your routine that made the biggest difference? I’d love to hear it in the comments.

Shop my favorite picks on Amazon
VISIT MY STOREFRONT 🛒